
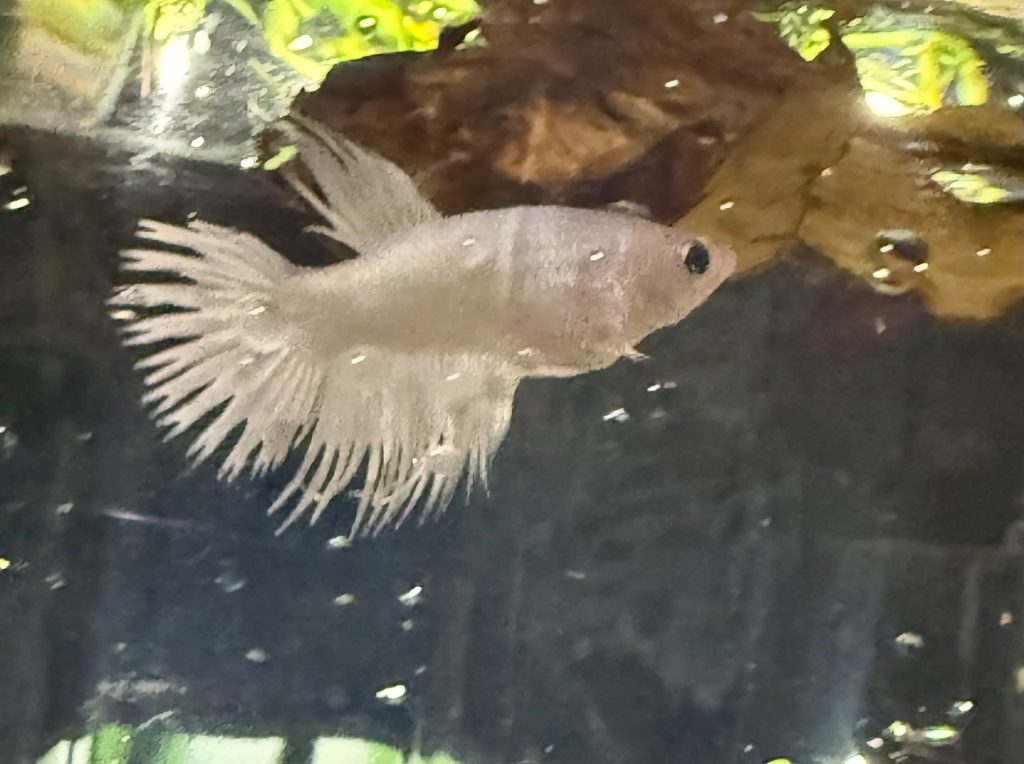
Hello, betta fish hobbyists wherever you are! Welcome back to the Yuin Betta Fish blog. Have you just purchased your dream betta online or brought one home from your local fish store? Congratulations! Adding a new champion to your collection is always exciting.
However, the most critical moment after your fish arrives is not dumping it straight into the main tank. Many beginners overlook this initial adaptation period, which can lead to fatal consequences—ranging from severe stress and clamped fins to sudden death caused by water parameter shock.
To ensure your beloved betta transitions smoothly into its new environment, here is a step-by-step guide on how to safely and properly acclimate a new betta fish, Yuin Betta Fish style.
Tools and Supplies to Prepare
Before unboxing your betta or moving the fish, make sure you have the following supplies ready nearby:
- A clean small container or bowl (a clear plastic container works well).
- Conditioned, dechlorinated freshwater for the new tank (ensure temperature and pH are already stable).
- A clean cup or measuring spoon for transferring water.
- Dim room lighting (soft lighting helps minimize fish stress).
Step 1: Floating the Bag (Temperature Acclimation)
The first and most basic step is equalizing the water temperature inside the shipping bag with the water in your new tank. Keep the betta fish inside its sealed plastic bag.
Float the sealed plastic bag on the surface of your aquarium or prepared holding tank for about 15 to 20 minutes. This allows the temperature difference between the transport water and the new tank water to balance out naturally and gradually.
Step 2: Opening the Bag and Moving to an Open Container
Once 20 minutes have passed, the water temperature inside the bag should closely match the tank water. Carefully cut or untie the rubber band or tape on the shipping bag.
Gently pour the betta along with all its shipping water into the small container or bowl you prepared earlier. Do not discard the original water yet, as your fish still needs it to prevent sudden shock from drastic shifts in water chemistry.
Step 3: Gradually Mixing the Water (Water Chemistry Acclimation)
This is the core of the acclimation process. The water from the shipping bag and your new tank may have significantly different pH levels and water hardness.
Take one tablespoon of water from your new aquarium and gently pour it into the container holding your betta. Repeat this process every 3 to 5 minutes over a period of 20 to 30 minutes. This method allows your betta’s body to adjust gradually to the differences in water parameters.
Step 4: Transferring the Betta to the Main Tank
Once the gradual water mixing is complete, it is time to move your betta into its new home. It is strongly recommended not to pour the transport water into your main tank, as it is often fouled with waste accumulated during transit.
Use a soft, fine aquarium fish net to gently scoop the betta out of the acclimation container and release it into the main aquarium. Discard the leftover acclimation water.
Step 5: Post-Acclimation Recovery Period
Your work does not stop there! A betta fish that has just endured shipping and acclimation definitely needs time to rest.
Turn off the aquarium lights or keep the tank in a dimly lit area during its first day. Avoid feeding for the first few hours after introducing the fish. Give it time to explore its new surroundings undisturbed. Typically, your betta’s appetite will fully return the following day.
That wraps up our step-by-step technical guide to acclimating a new betta fish. With a little care and patience at the beginning, your prized betta will thrive, stay active, and display its most vibrant colors in its new home. See you in the next helpful guide from Yuin Betta Fish!